Documentation
Using the Client
Press Ctrl twice in quick succession (within ~300 ms) anywhere in the desktop client to open the voice input dialog.
Recording
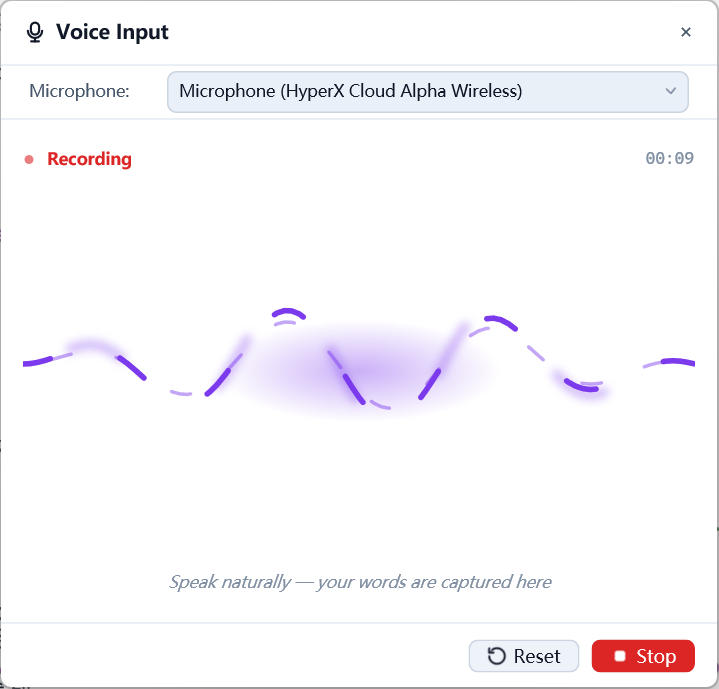
The dialog starts recording immediately: the liquid waveform follows your voice, the top selector switches microphones (the choice is remembered), and a timer shows the elapsed time. Stop ends the clip and sends it for transcription (Reset restarts).
Processing
A particle-stream animation plays while the server transcribes the audio.
Editing
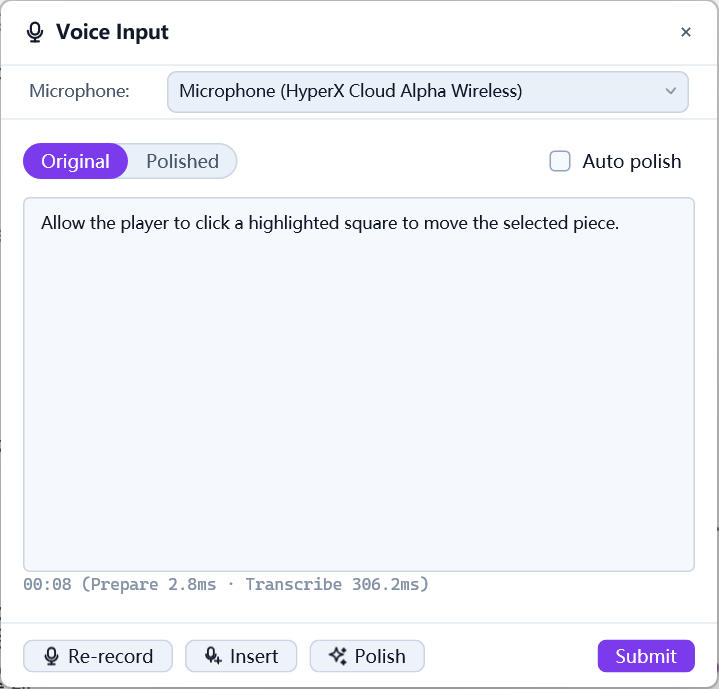
The transcript lands in an editable text box:
- The mode pill toggles between
originalandpolished;Polishruns the LLM once, andAuto polishdoes it right after every transcription; Re-recorddiscards the text and starts over;Insertrecords again and splices the new transcript into the existing text at the caret (replacing any selection), so you can extend or amend what you already dictated — the caret lands right after the inserted snippet;- Hover the text box to reveal a copy button at its top-right corner: click to copy the text and it flips to a checkmark; editing the text or switching modes re-arms it for another copy;
Submit(orCtrl+Enter) types the text into the active terminal;Esccloses the dialog.
Polishing setup
Polish needs a voice-polish LLM: in the Web UI’s LLM section, enable Enable voice text polish in the per-feature list (a regular provider plus this toggle is all it takes). Without it the Polish button stays greyed out and the auto-polish option is hidden.